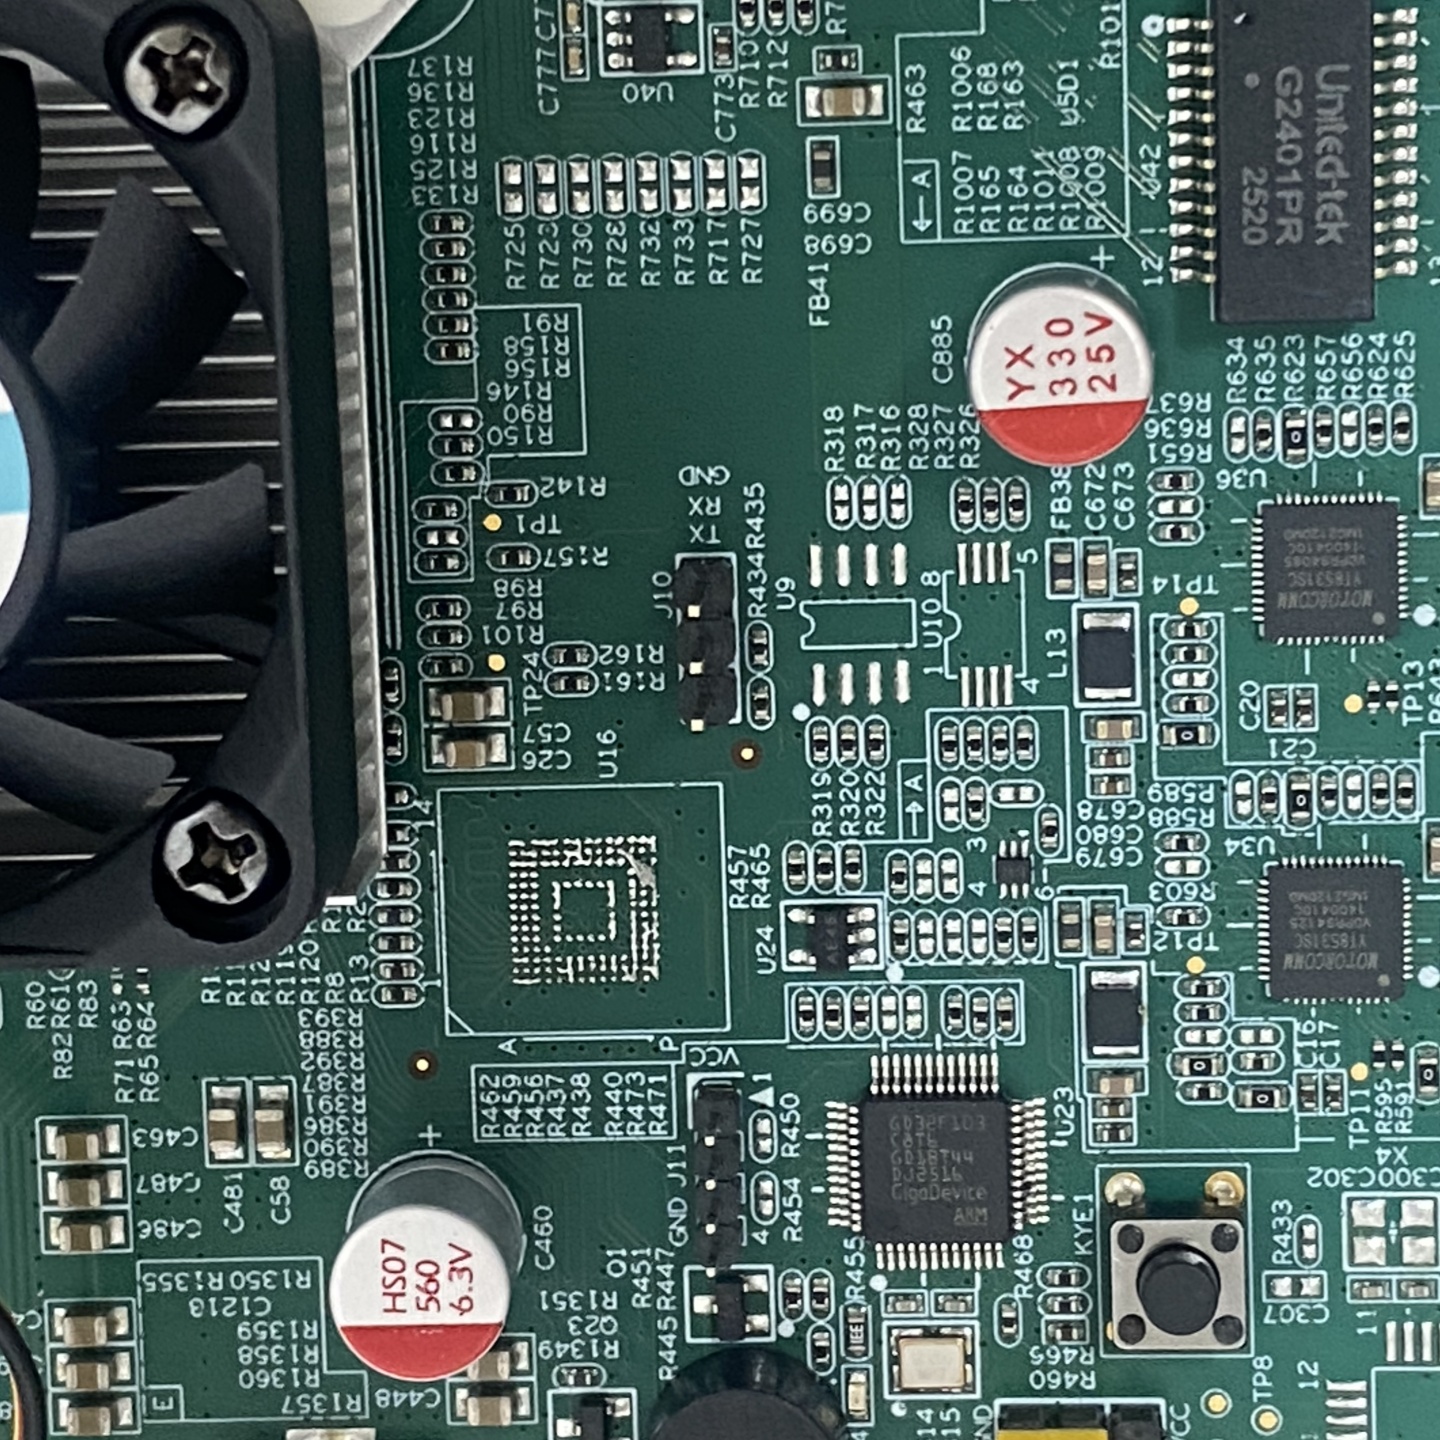
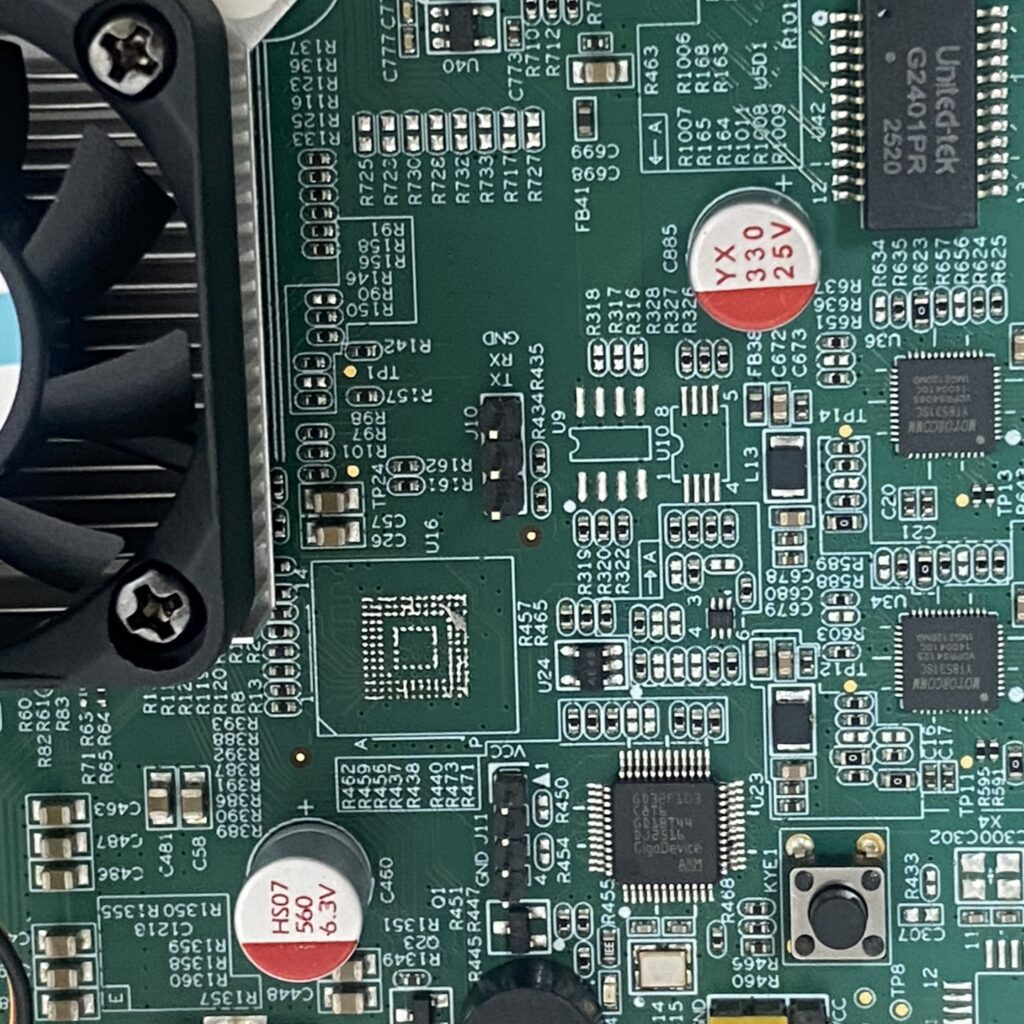
Today we recorded the whole process of disassembling the core chip on the equipment motherboard. All operations are completed by our technicians with a standard BGA rework station. We strictly control heating temperature and operation rhythm to avoid scratching the circuit board and damaging the copper pads during chip removal. All steps follow the factory maintenance specification, focusing on safety and yield.
Step 1: Inspect the overall circuit board & confirm target chip
First, place the complete PCB motherboard on the workbench, check the overall condition of the circuit board, confirm the position of the chip to be disassembled, and inspect peripheral capacitors, interfaces and circuits to ensure no obvious damage before operation.
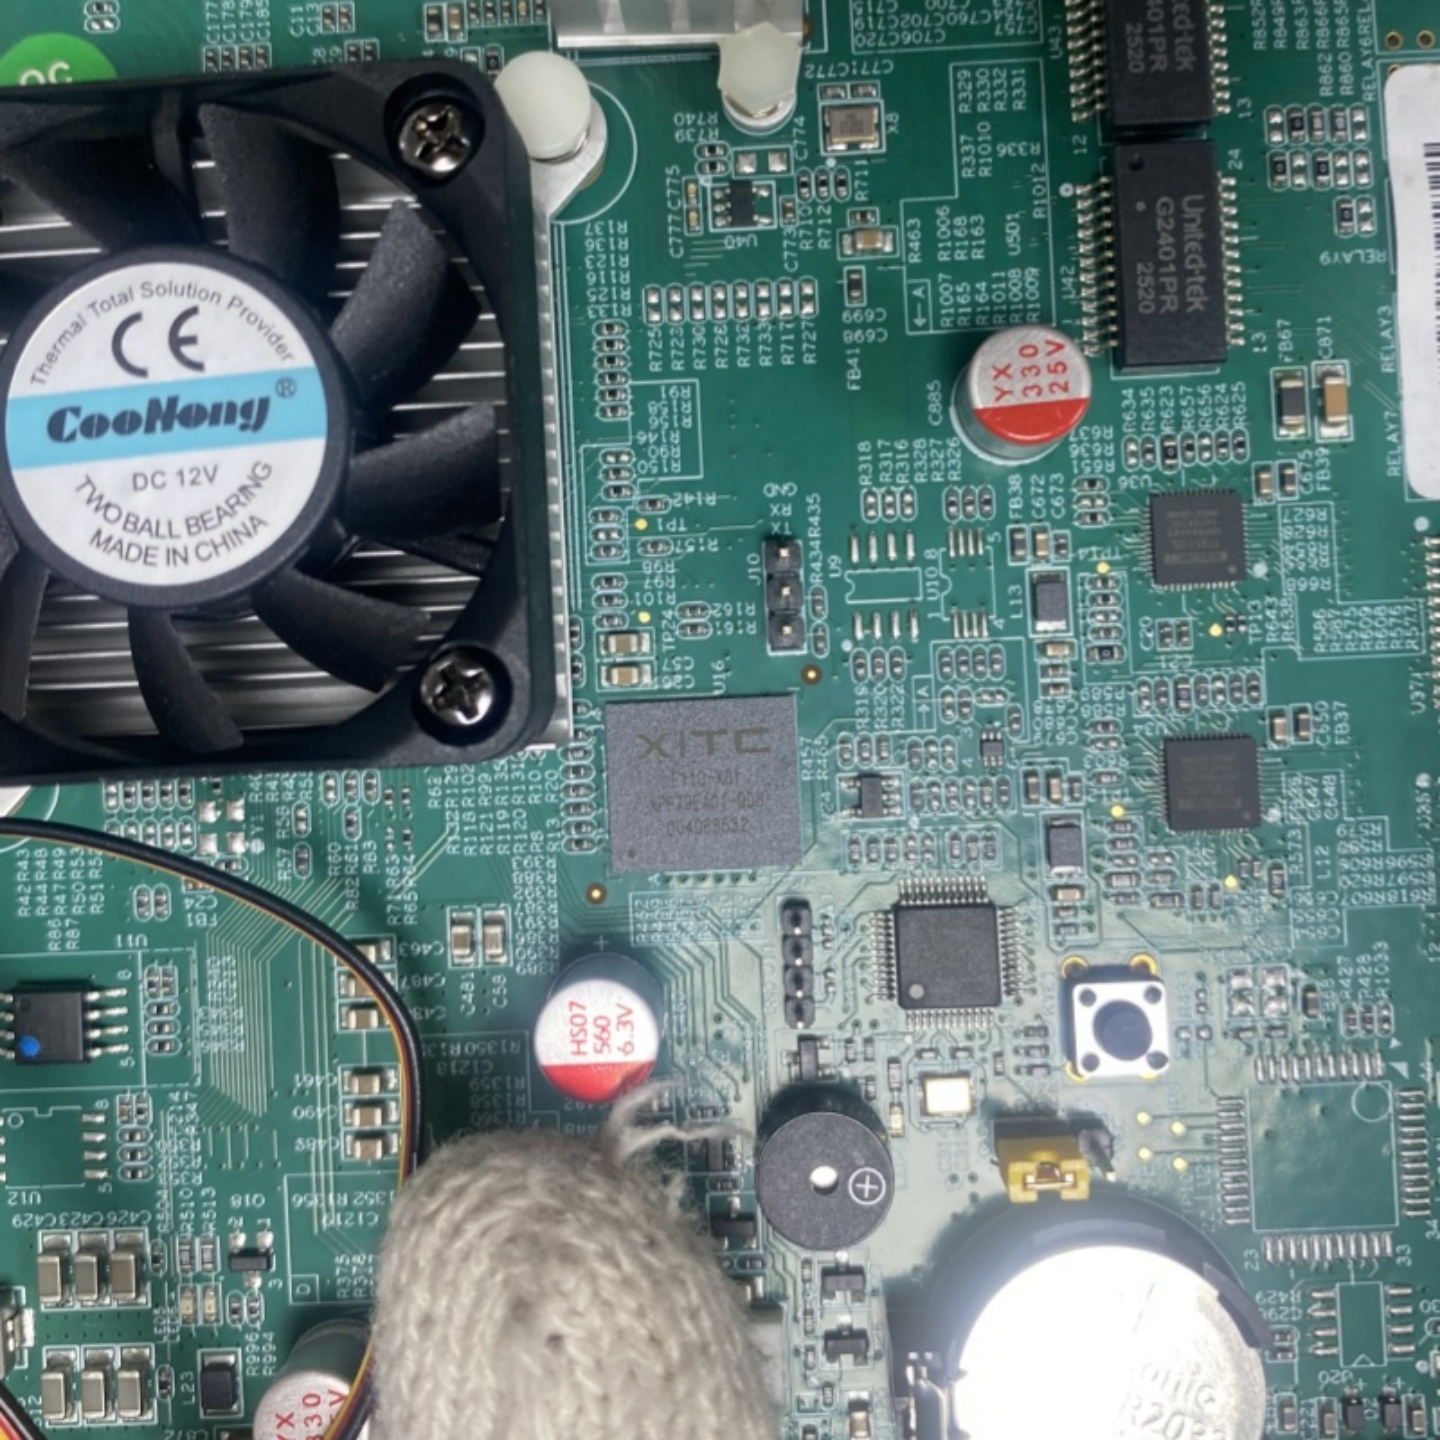
Step 2: Fix the board on BGA rework station and start heating
Fix the circuit board stably on the fixture of the BGA rework station, adjust the position of the hot air nozzle to align with the chip area, set reasonable heating parameters and start constant-temperature heating. Rely on the bottom preheating station to heat the whole board to prevent PCB deformation caused by local high temperature./
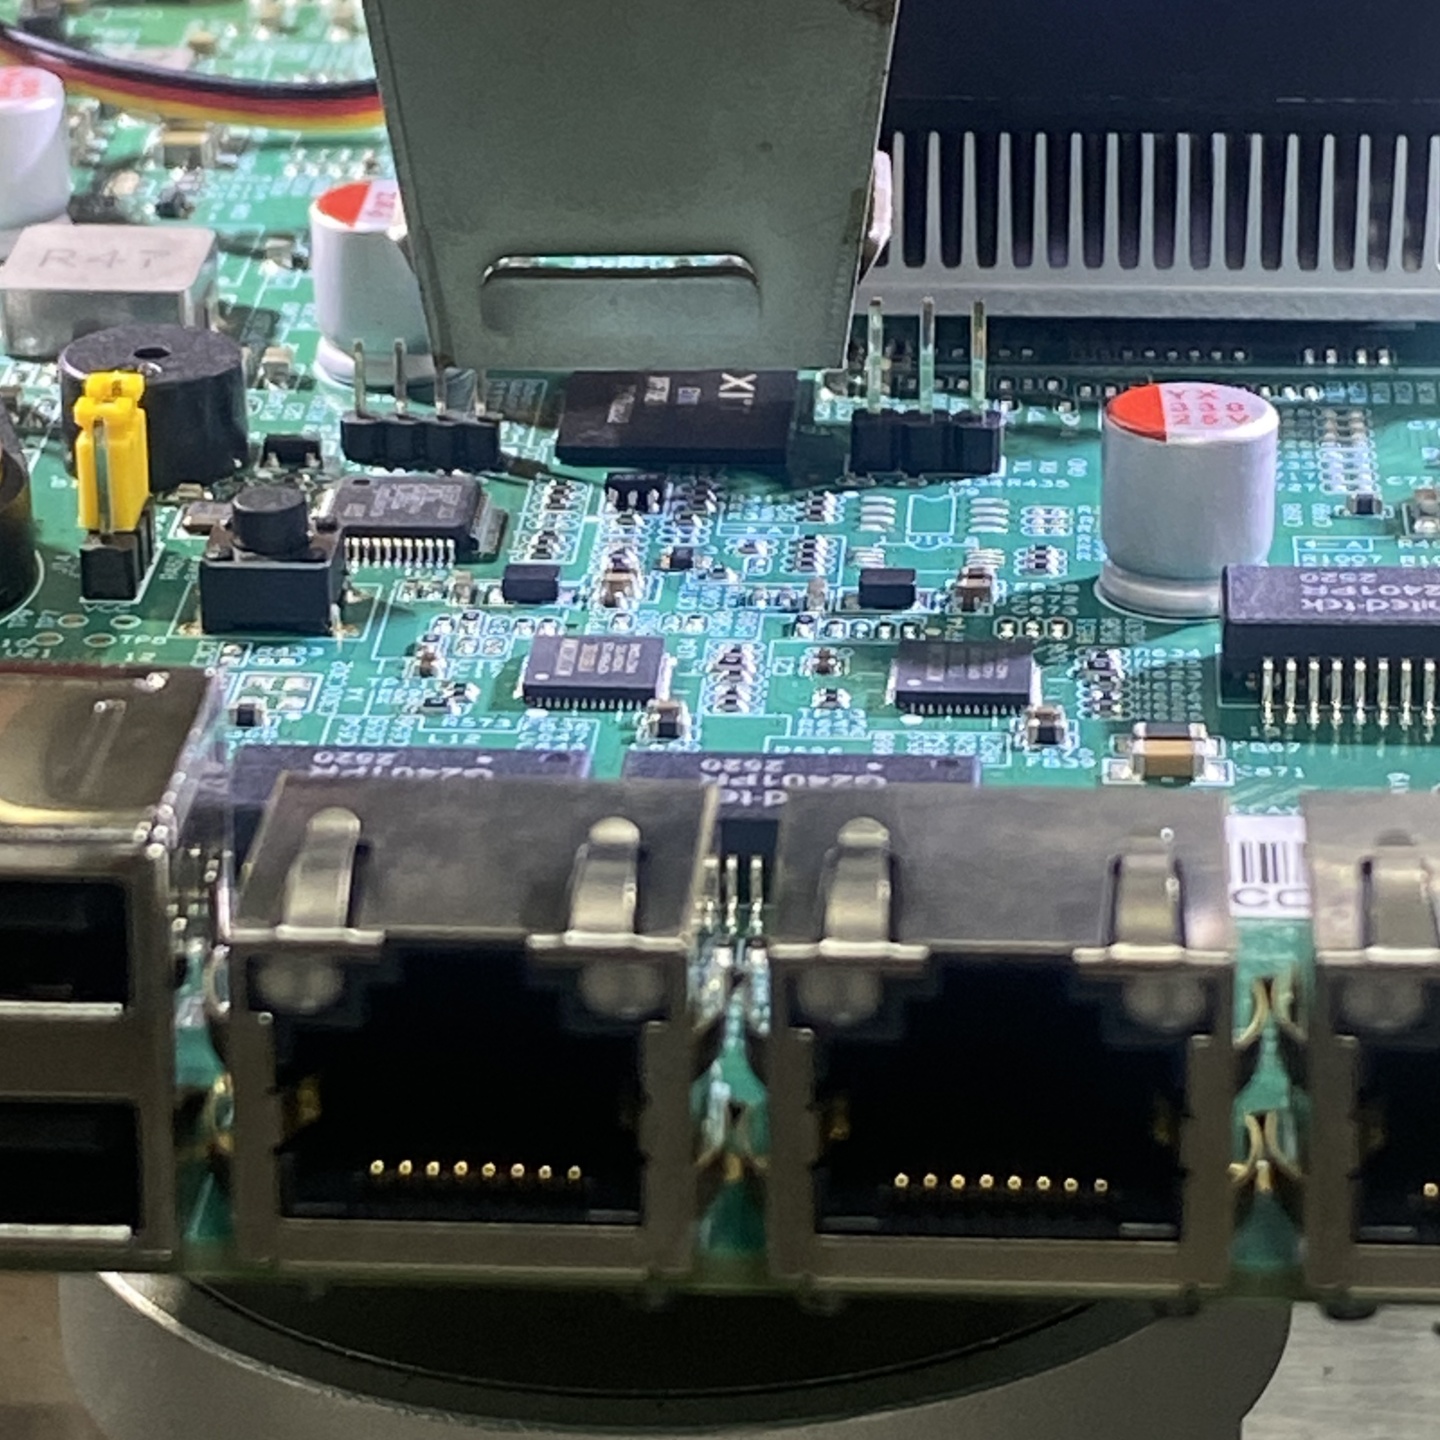
Step 3:Remove the chip gently with tweezers after solder melting
Observe the melting state of solder in real time. When all solder points are fully melted, use anti-static tweezers to take down the chip gently. Do not pull hard to avoid tearing PCB pads and circuit traces.
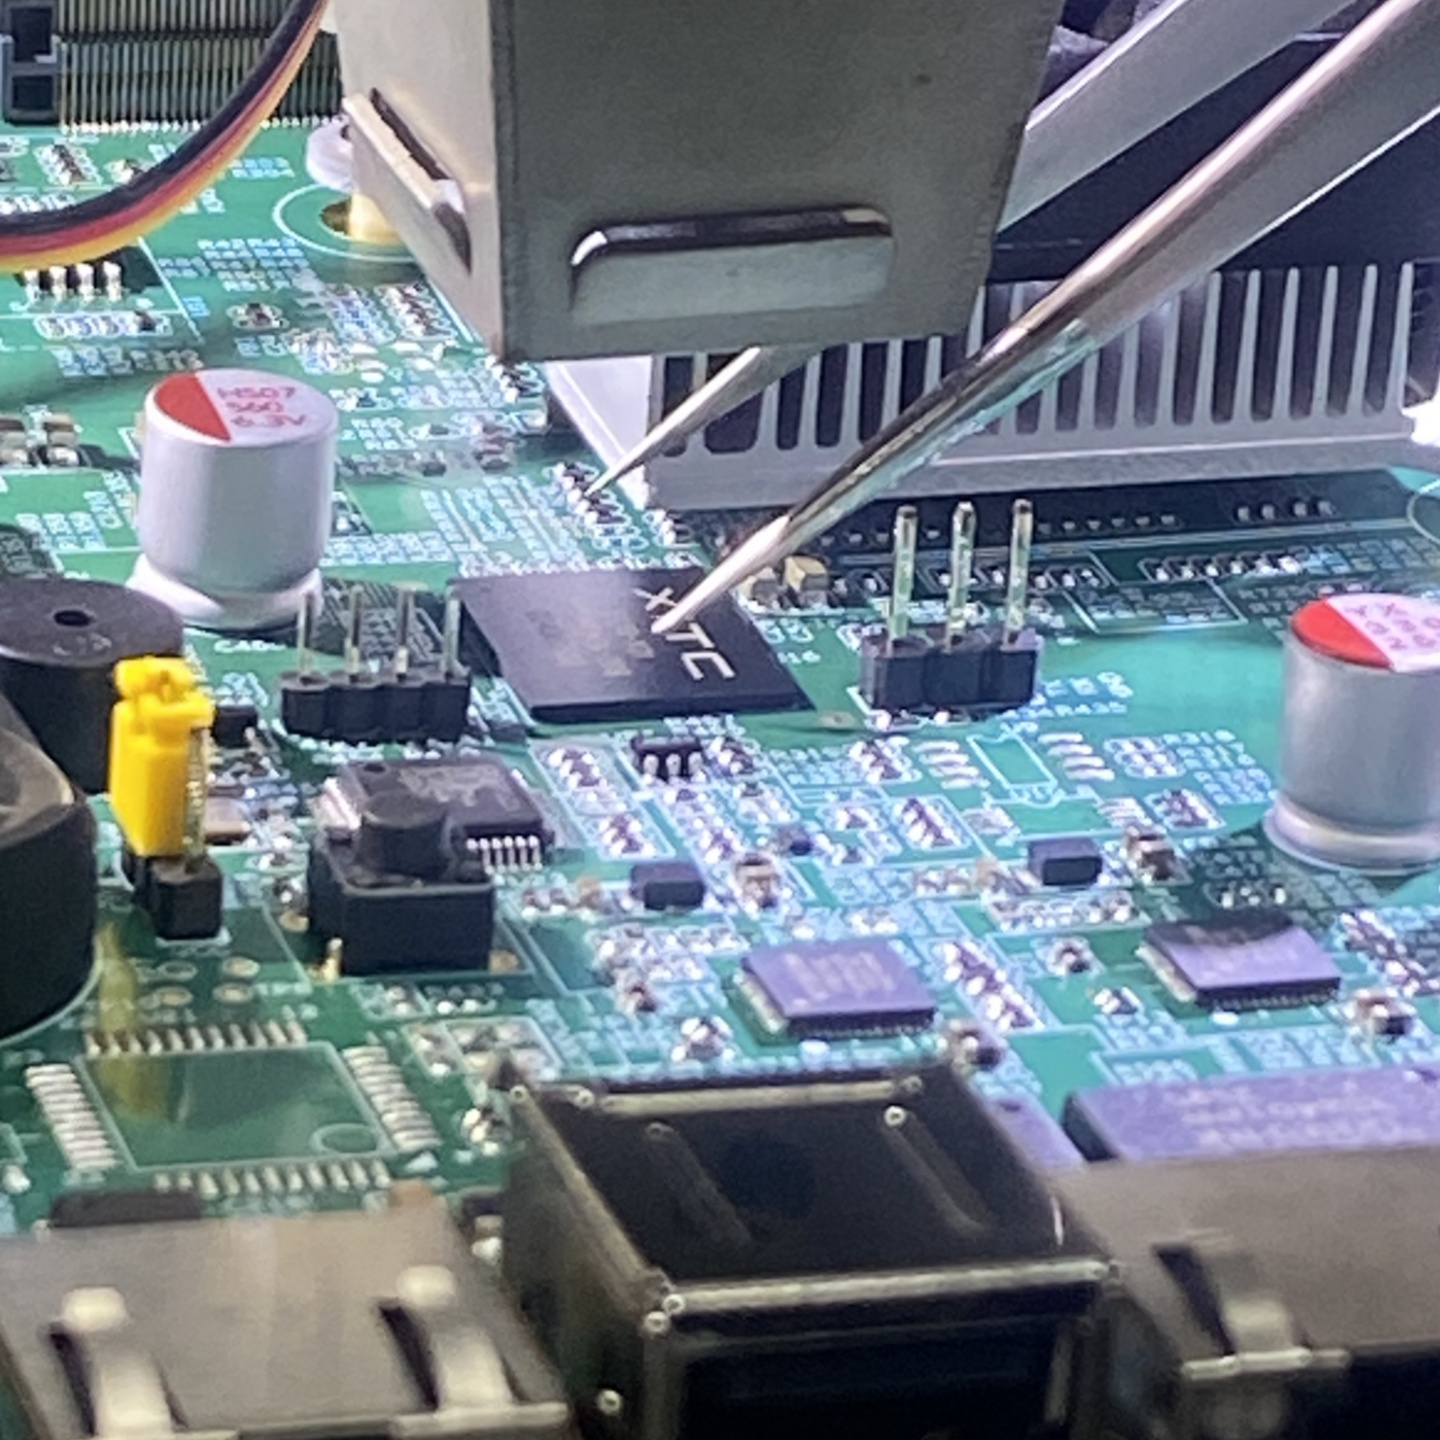
This set of chip desoldering operation is a standardized daily maintenance process of our factory. Stable heating control and careful manual operation can greatly reduce the risk of board damage. We focus on stable processing quality, support various circuit board chip disassembly, maintenance and related customized processing services.